You may have started the year with the best of intentions, vowing to exercise more, but after a few weeks of trying to stick to your resolutions, you may be feeling burned out and ready to abandon your goals. This is not uncommon. In fact, many people lose their motivation and feel burned out because they’ve had negative experiences with exercise. And those undesirable experiences can alter your resolve and make you question whether or not exercise is even beneficial or worth your time.
The good news is that it is possible to avoid burnout. These guidelines were created to help you make regular exercise a permanent lifestyle change.
1.
Know the Signs of Exercise BurnoutThese signs and symptoms are indicators of exercise burnout:
Exhaustion instead of energy
Joint or muscular pain
Difficulties sleeping
Fatigue or weakness
Persistent muscle soreness
Yawning during exercising
2.
Find a Deeper Connection with Exercise It’s no secret that exercise offers a wide range of benefits, including reduced blood pressure, higher energy levels and stronger muscles. But it’s worth taking the time to ask yourself how can exercise benefit you on a deeper level. You will be more likely to commit to exercise when you understand the primary reason you want to exercise. Whether you want to play with your kids without gasping for air or one day qualify for the Boston Marathon, knowing what really motivates you will help keep you going when life gets busy or your interest begins to flag.
3.
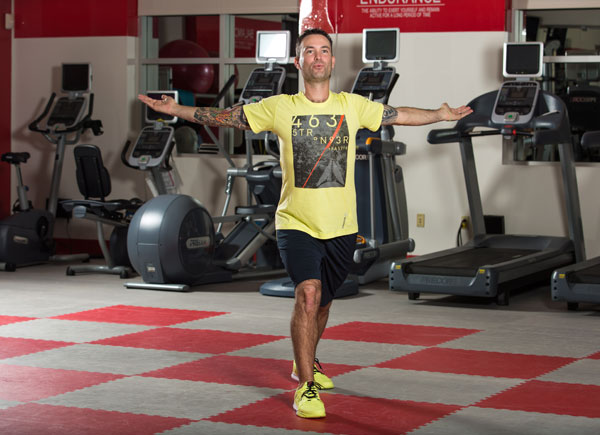
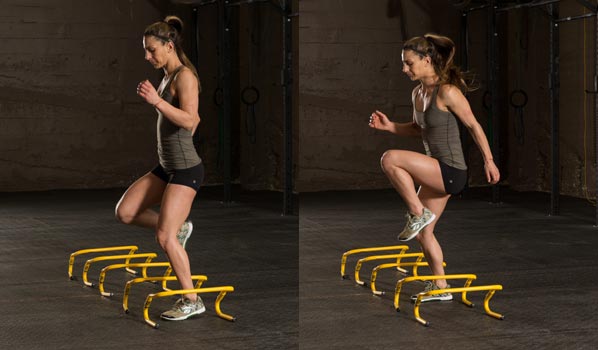
Gradually Progress ExerciseTrying to do too much, too soon is a sure-fire way to burn out on exercise. Gradually incorporating exercise into one’s life, however, can help you establish the building blocks and appropriate strength necessary to participate in higher-intensity training. Many people desire to participate in higher-intensity fitness programs because they promise to burn a lot of calories. These classes offer magnetic atmospheres and a fun, social connection, but these classes may cause more harm than good for those who aren’t yet prepared for more rigorous workouts.
A qualified fitness professional can help you discover the best routine and exercise progression for your current fitness level. If you’ve been sedentary, consider starting with one or more of the following modalities:
Aquatic fitness classes
Walking
Basic body-weight training
Using cardiovascular machines
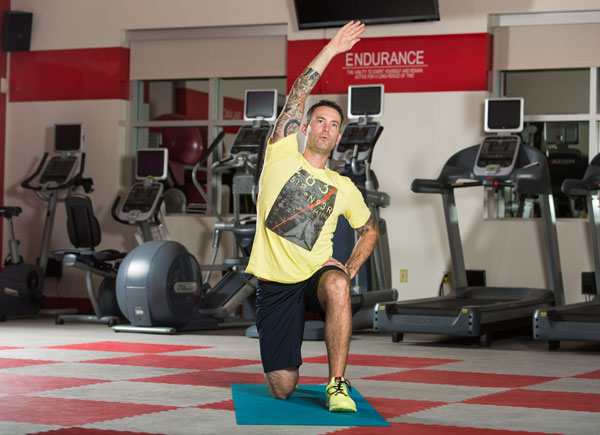
Basic yoga or Pilates
Once you’ve established a baseline of fitness, you can progress to more challenging programs. Why is this important? Gradual changes lead to long-term results and helps you avoid injury, pain and negative perceptions toward exercise.
4.
Monitor Your StressMany people do not realize that exercise is actually physical stress applied to the body. And, while exercise can be a great stress-reliever, pushing an already-stressed body past its boundaries is a recipe for burnout.
When stress levels are high, the human body breaks down and mental clarity decreases. It also undergoes physiological changes such as increased blood pressure, heart rate and perspiration. Hormonal changes also occur, providing the necessary energy for the “fight or flight” instinct that often kicks in. Not surprisingly, research has shown a correlation between stress and immune function. When chronically stressed, immune function decreases and the body is more susceptible to sickness and infections.
Ask yourself, “How much stress is in my life?” If you’re going through a highly stressful period in your life, keep moving with lower-intensity exercise. Walking, yoga, biking, swimming and water jogging are great alternatives to high-intensity training. During stressful times, add in an extra recovery day if sticking with higher-intensity workouts. When life rebalances itself, revisit higher-intensity training.
5.
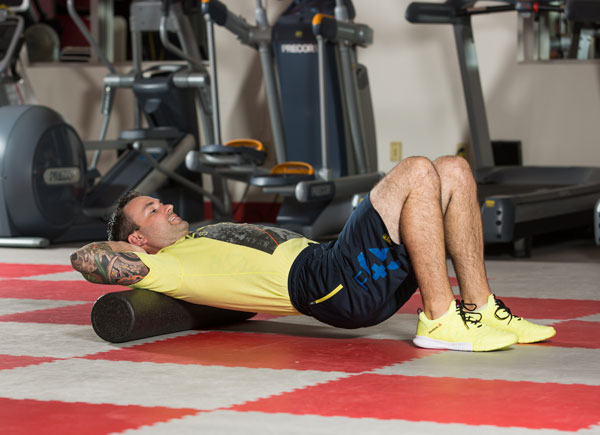
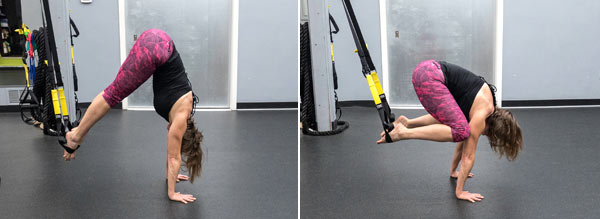
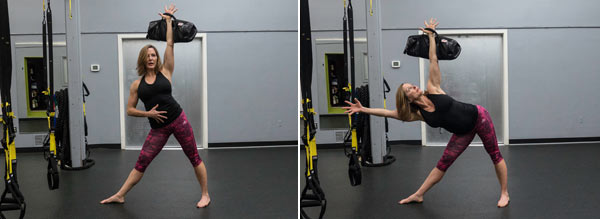
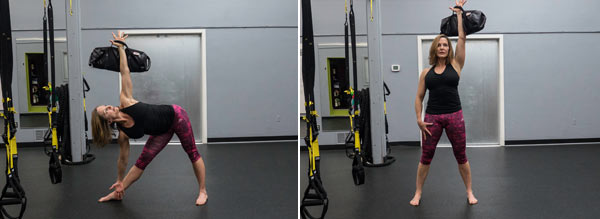
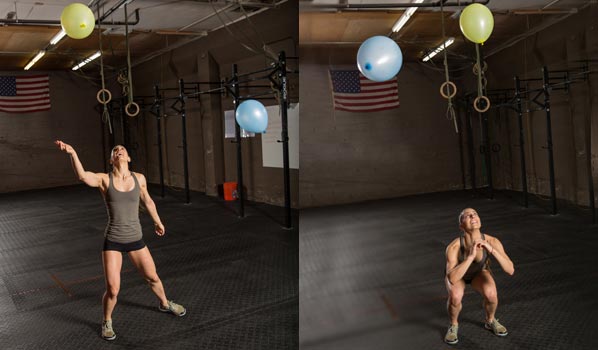
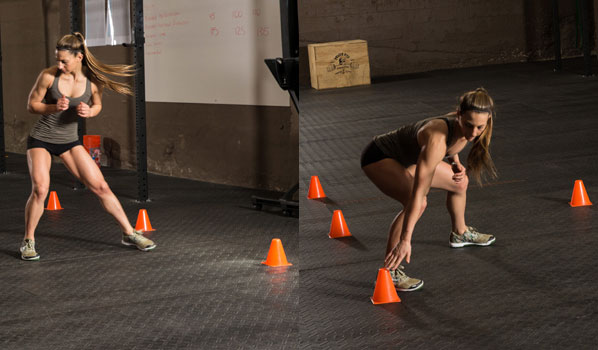
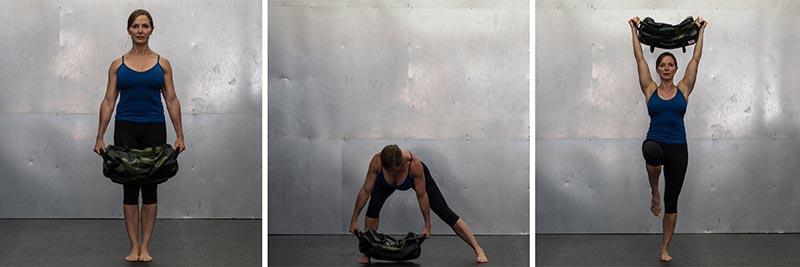
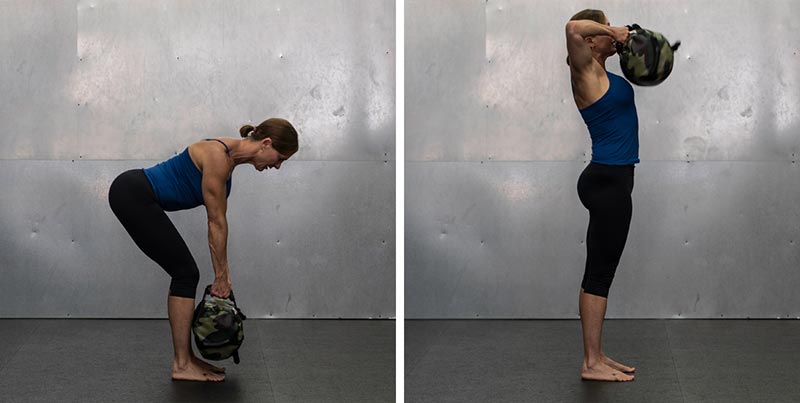
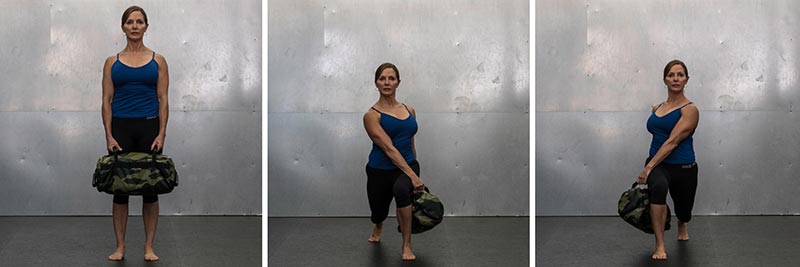
Cross TrainingCross training—including two or more types of exercise into your regular routine—is an effective method for avoiding burnout. Cross training helps you avoid doing the same motions day after day, which reduces the stress on your muscles and joints.
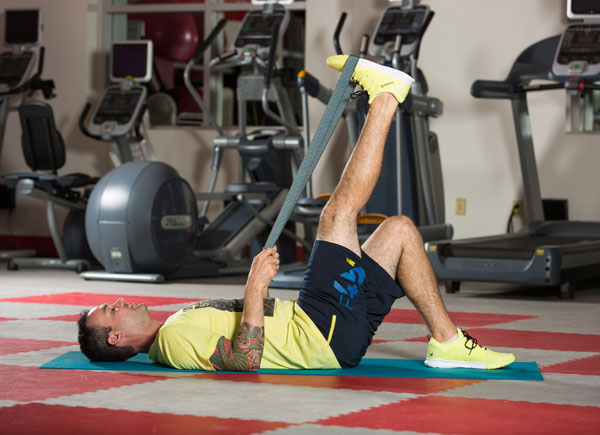
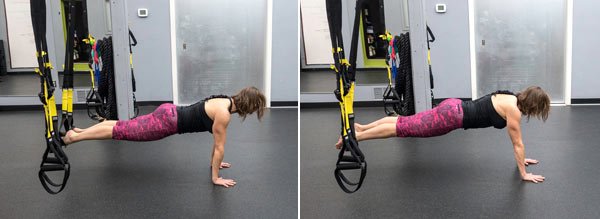
A combination of resistance and cardiovascular training is particularly effective because it enables you to increase both muscular strength and cardiovascular endurance at the same time. For resistance training, you can incorporate a combination of body-weight training, yoga, Pilates and traditional weight training. Equipment such as medicine balls, resistance bands and BOSUs also are effective and add variety to one’s workouts.
6.
Prepare and RepairYour body needs good nutrition to sufficiently “prepare and repair” your muscles between workouts.
Many resolutions include both diet and exercise, but you should be wary of drastically cutting calories.
The body requires energy (enough calories) to sustain exercise, especially high-intensity workouts. If your body does not have enough energy on store, your muscles cannot repair properly, so be sure to include a balance of carbohydrates, proteins and fats.
Source :
Elizabeth Kovar M.A / ACE


 Keep Calm